So being that I was busy with finals in December, I am still catching up on making Christmas gifts. This half apron took me all day, thanks to my incredibly frustrating sewing machine. UGH!! However, sewing should be relaxing and after I took a few breaths, I was able to let go of my perfectionist ways. And suddenly.. a super cute apron appeared! I am so happy with the way it turned out. (It almost looks like it could be a skirt, doesn’t it?) I really just “free handed” this apron, so my tutorial won’t be very in depth — but hopefully you guys will get the gist- and be inspired to make your own “free handed”, worry free apron.
Materials:
1 yard cotton fabric of your choosing.
1 yard of matching muslin
1/2 – 1 yard of matching cotton for strap
(optional) 1/2 yard cotton for pockets.
And whatever else you prefer to cut, sew, iron etc.
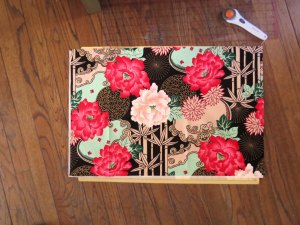
1. Cut two 27×18 pieces of fabric – keeping in mind that a few inches are going to be lost with pleats. Front piece is one of my favorite cotton prints, and the back is a simple piece of muslin. The length of this is really just dependent on big you need it and how far around your waist you want it to go. I have a 25 in’ waist and my friend has a 41 in’ waist, and this size worked for both of us. very versatile. The length hits right above the knees, but again, change according to how long or short you desire.
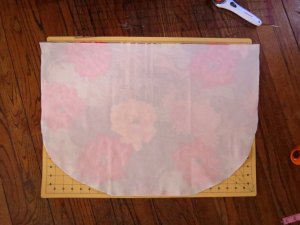
2. Cut the bottom corners of both fabrics to create a rounded edge – i wasn’t picky at all. See? I told you I just eyeballed this apron.

3. Fold and iron down 1/4th inch around the entire fabric, place backs facing- and you know the drill. I sewed them together with a zig zag stitch.
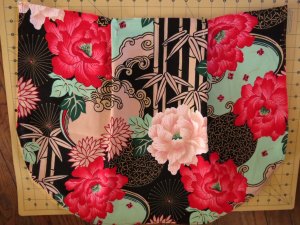
4. I made two pleats to give my apron a bit of a shape- you can add more if you want to make it fuller, or add none! (but make sure to adjust the length of the fabric accordingly). This is what i like about my tutorials. Lots of creative freedom.

5. The strap. I made a long strap (70 inches) at 4 inches wide, folded, and sewed leaving the strap a little less than two inches wide. Sewed it with a zig zag stitch right at the top of my apron. no problems. It is long enough for me to wrap around and tie in the front! Super cute way to add the effect of a bow without actually sewing one on. However, I have a pretty small waist so if you want to wrap it all the way around, I would recommend making the strap closer to 75 or 80 inches long, depending of course on waist size.
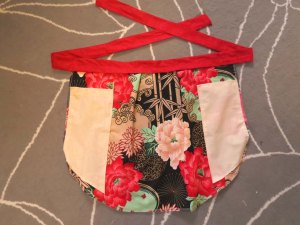
Ta da! I added a couple pockets in the corners too. You can add them on the sides, in the middle – or you don’t have to even use pockets if you don’t want to! How adorable! And of course, it doesn’t have to be perfect because whats the point of sewing if it is stressful? Remember: no worries!


